Description
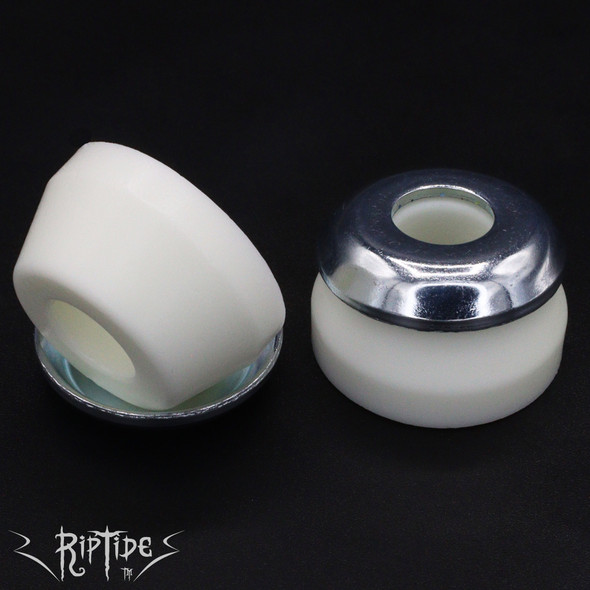
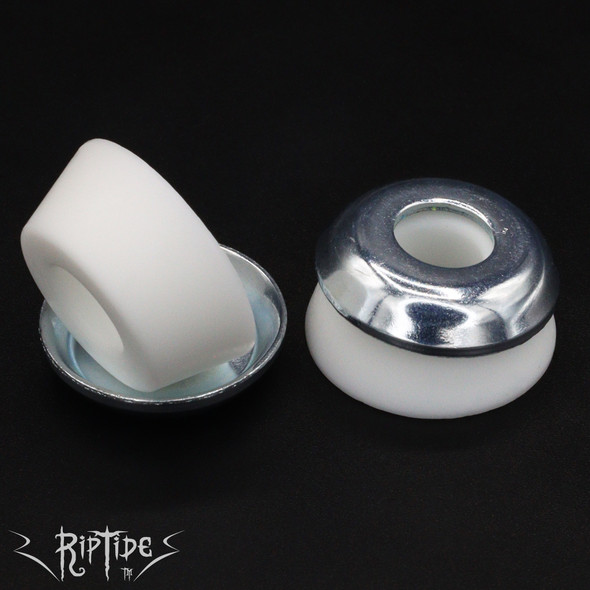
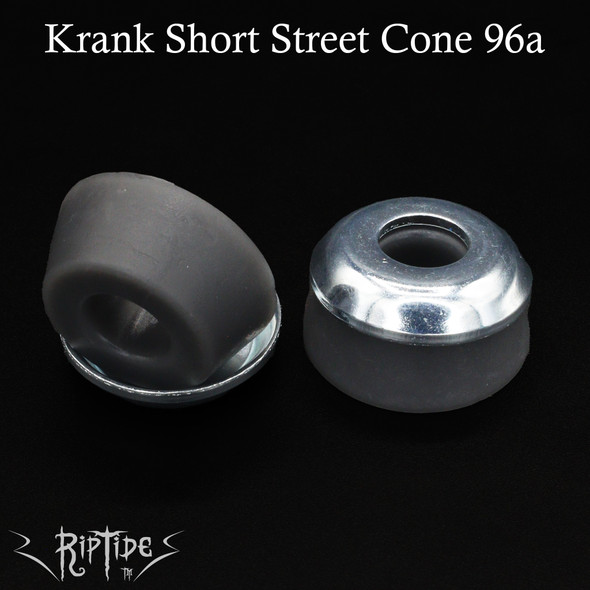
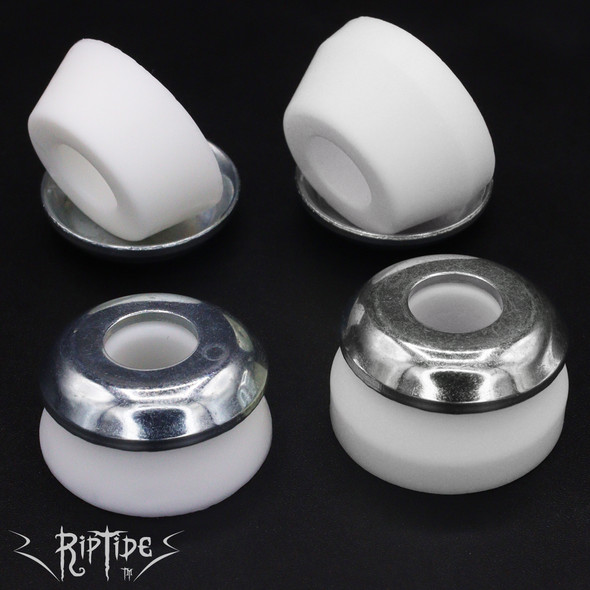
Krank Cone Bushings are sold as a Pair or 2 Pairs with a sticker. No Washers are included and you may buy optional washers to further customize your setup. Bushing Height: 0.6" - Bushing Diameter: 0.98"
Performance Under Pressure - The KranK Formula has quite a bit of adjustability. You can tighten the kingpin nut up to two full turns after snug to 'harden' or 'loosen' the feel of the durometer.
Keep in mind that the large end typically goes towards the hanger of the skateboard truck and should fit snugly into the bushing seat.
Cones are the lowest resistance and stability shape, which can allow your trucks to easily achieve full lean and turn.
Cones can be used together for more carve, or with Barrels for carve with more stability. Check out Shapes for more details.

- Krank Formula - Longboard Cone 0.6" -
Don't be afraid to mix and match a softer durometer bushing into the Road-Side (Top) position with a harder durometer in the Board-Side (Bottom) position. This can provide additional center stability while still allowing for some carve.
- Very Hard durometer bushings (96a) are typically for heavier riders or for riders looking for a very tight setup.
- Hard durometer bushings (93a) are for average weight riders and allow for a nice tight set-up with very little wobble.
- Medium durometer bushings (90a) are for medium weight riders & for those looking for a bit looser setup than the hard.
- Soft durometer bushings (87a) are for light-weight riders & those looking for a loose setup.
- Very Soft durometer bushings (84a) are designed for very light-weight or young riders but are also useful for those looking for an even looser setup (slalom).
Additional Information
Durometer: |
Krank |
Outer Diameter: |
0.98" |
Height: |
0.60" |
Inner Diameter: |
0.37" |


